
Shogun 2 Agents Guide: Ninja, Metsuke and Monk Roles
Choose the right Shogun 2 agent for scouting, sabotage, tax income and religion. Learn recruitment routes, counterplay and mission risks in classic Sengoku.
FAQ
How do I recruit ninja, metsuke and monks?
Where should I put a metsuke for more income?
Does converting an enemy agent recruit them into my clan?
Do these rules cover Complete Edition and both expansions?
Pick an agent for the problem you have
Agents act on the campaign map. They can make an army’s next battle easier, protect a valuable province or reveal a threat before your general walks into it. They are not interchangeable, and a promising success percentage does not make an unnecessary mission worth buying.
Start with a job: finding an enemy army, delaying it, protecting tax revenue or stabilizing religion. Then choose the agent and skill path that serves it. If you are still learning the campaign turn, use the beginner guide alongside this page.
| Agent | Recruitment chain in classic Sengoku | Useful assignments | Main caution |
|---|---|---|---|
| Ninja | Stealth buildings, beginning with the Sake Den | Scout, assassinate, sabotage buildings or armies, establish a spy network | Hidden does not mean undetectable; failed missions can cost the agent |
| Metsuke | Market buildings | Oversee a town, detect and apprehend agents, bribe armies or garrisons | Valuable economic agents are vulnerable to religious conversion |
| Buddhist monk | Buddhist religious buildings | Spread religion, support an army, demoralize enemies, convert agents or incite revolt | Vulnerable to assassination; religion matters when choosing an assignment |
These are building-chain pointers, not a promise that every tier or every province can recruit another agent. Check the building tooltip and recruitment panel before spending on construction.
Ninja: information before assassination
A ninja is hidden from enemies until detected. Use that to look beyond the frontier before committing your main army. Passive spying can reveal more detail than an ordinary nearby character; it does not require you to gamble on an assassination every turn.
Army sabotage is a separate action. The classic encyclopedia describes damage to an enemy army’s ability to move and possible casualties. That can be useful when two enemy forces are about to combine or when your army needs time to reach a defensive position. Plan for failure as well: a delayed enemy is an opportunity, not the sole foundation of your defense.
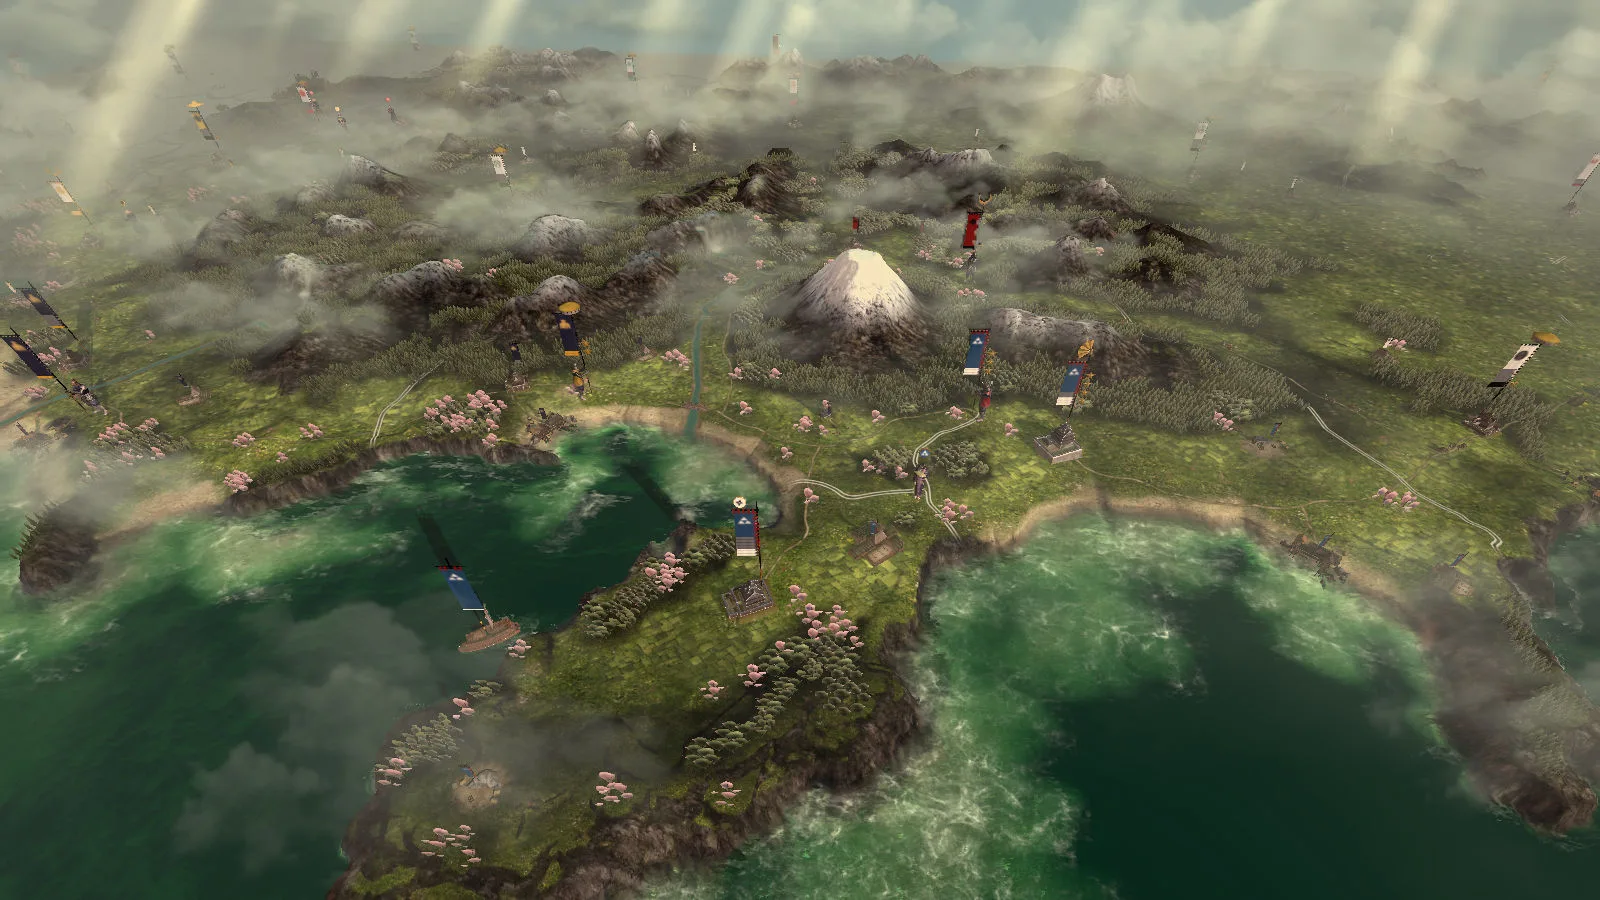
Scout the roads your opponent could use. The map around Mount Fuji shows how settlements and routes connect across the frontier.
Building sabotage and opening castle gates address different targets. The classic manual describes using a ninja before a siege to open the gates if the action succeeds. Do not treat that as a guarantee that the assault becomes safe: defenders still occupy the castle.
A ninja can also enter your own town to establish a spy network, improving observation and resistance to hostile subversion. An embedded agent has a job even when you are not issuing hostile orders.
Metsuke: protect income and deal with enemy agents
Overseeing a friendly castle town increases tax income and repression. A practical first assignment is a valuable town whose revenue you want to protect. Compare the province display before and after placing the metsuke, and read the overseeing-related skill descriptions when assigning points. There is no universal flat income bonus to add to every town in this guide.
Do not chase an enemy agent automatically if moving the metsuke would abandon a more important economic role. If you do need counterespionage, metsuke can detect ninja and attempt to apprehend rival agents. Apprehension does not always kill: the classic description allows imprisonment followed by the target’s later return.
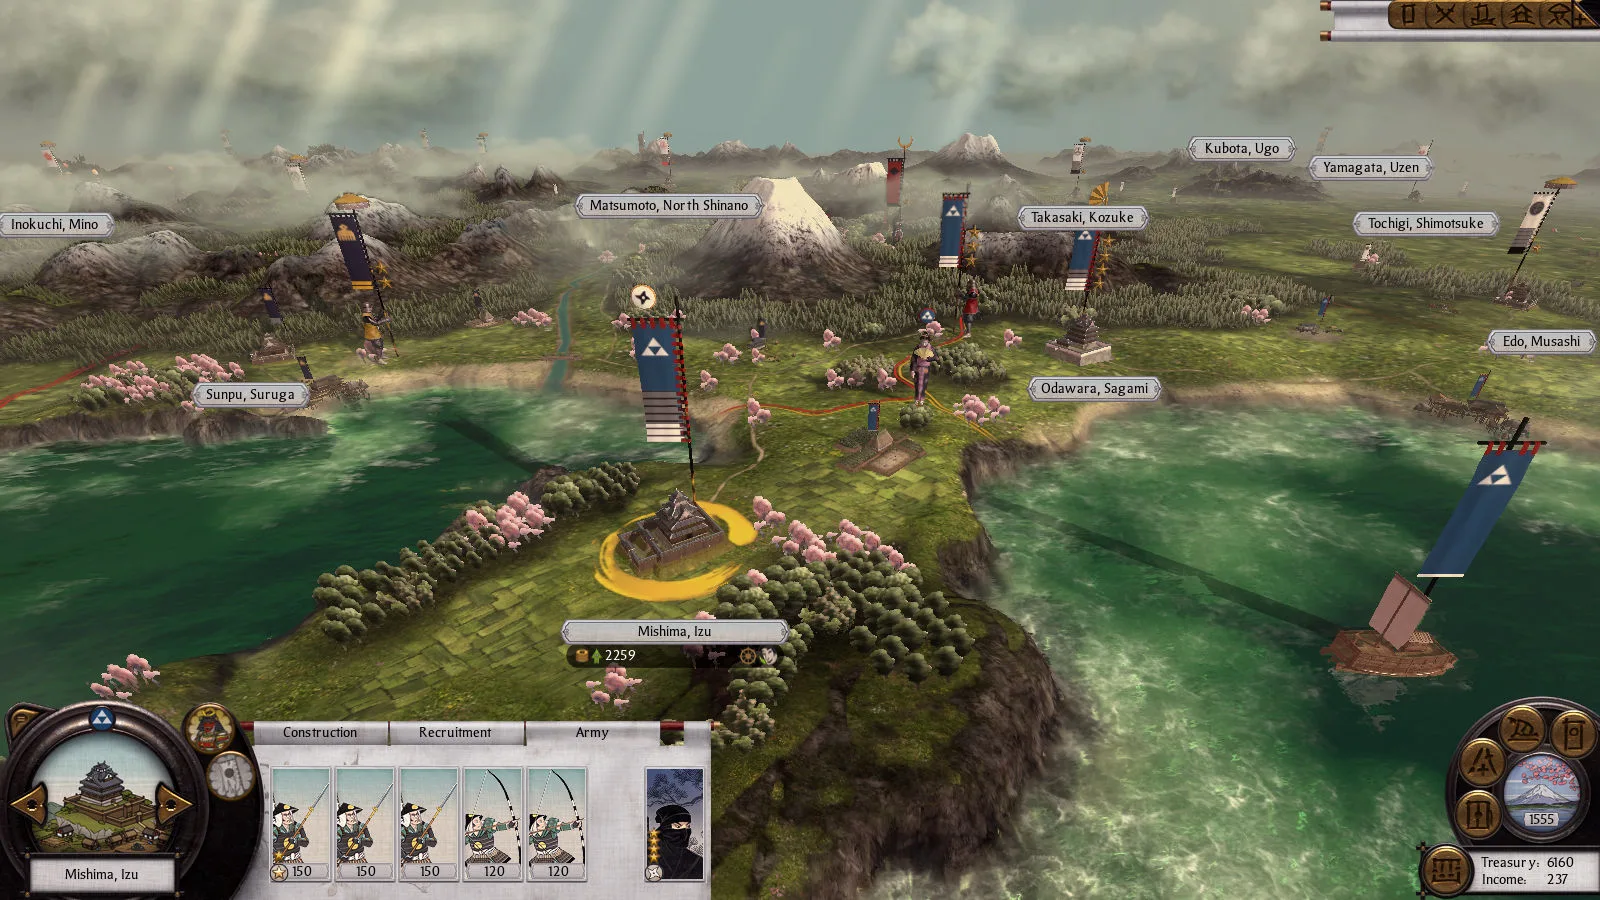
The selected-town view at Mishima in Izu provides campaign-interface context. Use your own town and character panels to verify the assignment and compare its effect on income.
Bribery is an active mission against an army, general or garrison. Read both price and chance before confirming. The encyclopedia explicitly notes that not all troops necessarily follow a bribed general, and that a province’s transfer depends on the garrison result. Do not budget as though every bribe buys an intact full army and a town together. Keep mission spending separate from the upkeep and construction commitments in the economy guide.
Monks: religion, army support and conversion
A Buddhist monk passively spreads his religion by being present in a province. That is different from the active action of converting an enemy character. Use the province’s religion and public-order information to decide where his presence helps; do not send him away merely because there is no exciting hostile mission available.
Religious agents can also support friendly armies and demoralize enemy ones. For demoralization, the classic encyclopedia gives a short opportunity: after success, the effect lasts until the beginning of the enemy’s turn. Coordinate it with an attack you can actually launch now.
Character conversion removes an opposing agent from their post, potentially temporarily. It does not mean that the target joins your clan. Similarly, inciting revolt is its own risky action, not an automatic way to annex a province. The target population’s religion affects the mission; inspect the presented chance rather than assuming a monk can reliably start a rebellion everywhere.
Christian missionaries and Ikko monks have their own religious context. Do not describe an Ikko province’s conversion plan as though it were simply a standard Buddhist province with a different banner.
Counters and skills: read the mission, not just the agent type
The classic descriptions give a useful starting relationship: metsuke threaten ninja through detection and apprehension; religious agents threaten metsuke through conversion; ninja threaten religious agents through assassination. Rank, skills, retainers, traits and the specific mission still matter. This is a counterplay guide, not a guaranteed rock-paper-scissors victory rule.
Before a hostile mission:
- Confirm that the target and selected action solve your actual campaign problem.
- Read the displayed monetary cost and success chance.
- Consider losing this agent and the passive work they would stop doing.
- Keep an army plan that still works if the mission fails.
Specialize skills around repeated work rather than spending points on a different task every level. A town overseer and a field agent need not follow the same path. Before Realm Divide, check whether your scouts and economic agents are positioned for the borders you will actually have to defend.
Scope and checked sources
Checked on October 15, 2026 against the classic encyclopedia mirror: subterfuge agents, subterfuge actions, religious agents and religious actions. The mirror combines campaigns, so this page uses the passages marked for Shogun 2 and the classic character entries.
This is not a verified Complete Edition balance table. For the different expansion rosters, see Rise of the Samurai and Fall of the Samurai. Campaign images: Creative Assembly / SEGA via the official Steam store.
Related Articles
Guides
Shogun 2 Hammer and Anvil: Cavalry Flanking Walkthrough
Practice classic Shogun 2 hammer and anvil with three verified video steps: dismount Katana Cavalry, pin spear infantry and strike an exposed flank.
Guides
Shogun 2 Siege Attack Guide: Gates, Walls and the Keep
Attack castles in classic Shogun 2 with a route-based siege plan. Follow illustrated gate, wall and courtyard examples, with source-video timestamps.
Guides
Shogun 2 Siege Defense: Castle Positions and Reserves
Defend castles in classic Shogun 2 with illustrated positions for archers, melee troops, cavalry and reserves. Learn when to sally out and check tower control.
Was this helpful?
Thanks for the feedback!