
Shogun 2 Siege Attack Guide: Gates, Walls and the Keep
Attack castles in classic Shogun 2 with a route-based siege plan. Follow illustrated gate, wall and courtyard examples, with source-video timestamps.
FAQ
Should every unit climb the walls?
What if I do not have fire arrows?
Does this siege guide cover Complete Edition?
How do you attack a castle without wasting the army?
Scope: classic Sengoku. Start with the objective and work backward to an entry route. A successful breach is not enough if the army reaches the courtyard exhausted, scattered or under several sources of fire. Before issuing the assault, locate the keep, each castle tier, usable gates and defending missile units.
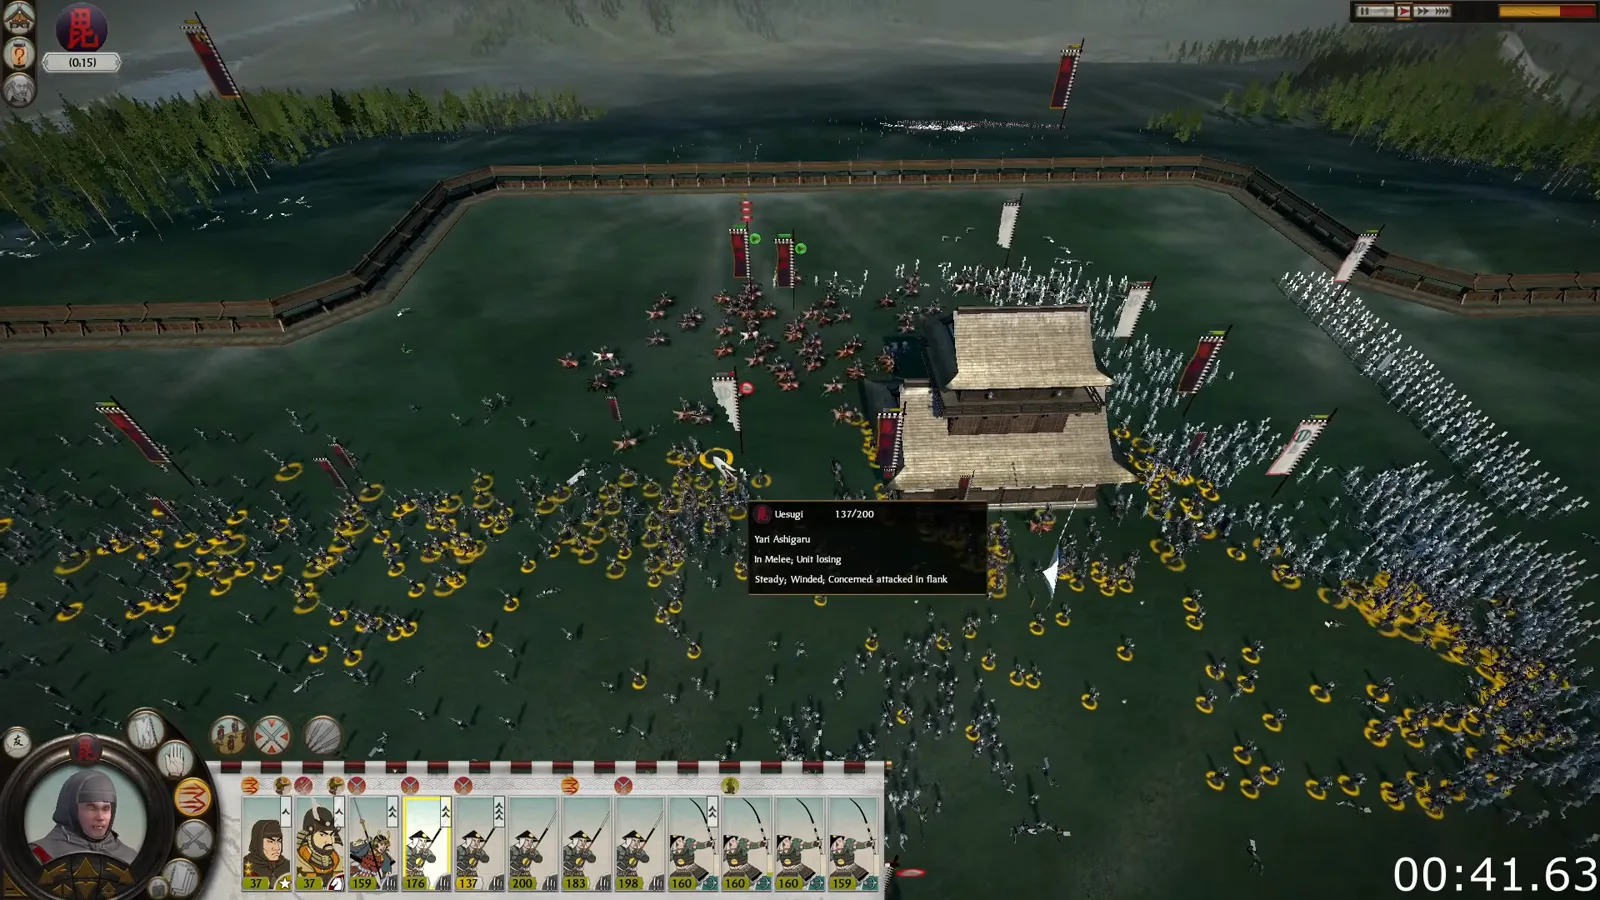
The keep and surrounding courtyard at 1:16 in the source video. This is one of several separate battle examples, not the start of one continuous assault.
The army-composition guide explains supporting roles before the battle. Here the question is where those roles enter the castle. Avoid spreading the army around every wall unless each group has a specific job and a route to support.
Which demonstration is this guide based on?
Source and screenshot credit: The Viking General, How To WIN Offensive Sieges. The text below is an original tactical explanation based on the full video; the screenshots show different examples chosen to illustrate decisions. Each illustrated step links back to its source moment. The white time display belongs to the source footage, while the links use the actual YouTube playback time.
1. Read the tiers and missile coverage before committing
Check which approaches are covered by archers and towers, then pick a route toward the keep or a lower courtyard. Viking General demonstrates holding the AI archers in place with a unit outside their firing range while moving other troops. Treat this as an observed AI response to monitor: if the defenders reposition, reassess instead of marching your bows into their fire.
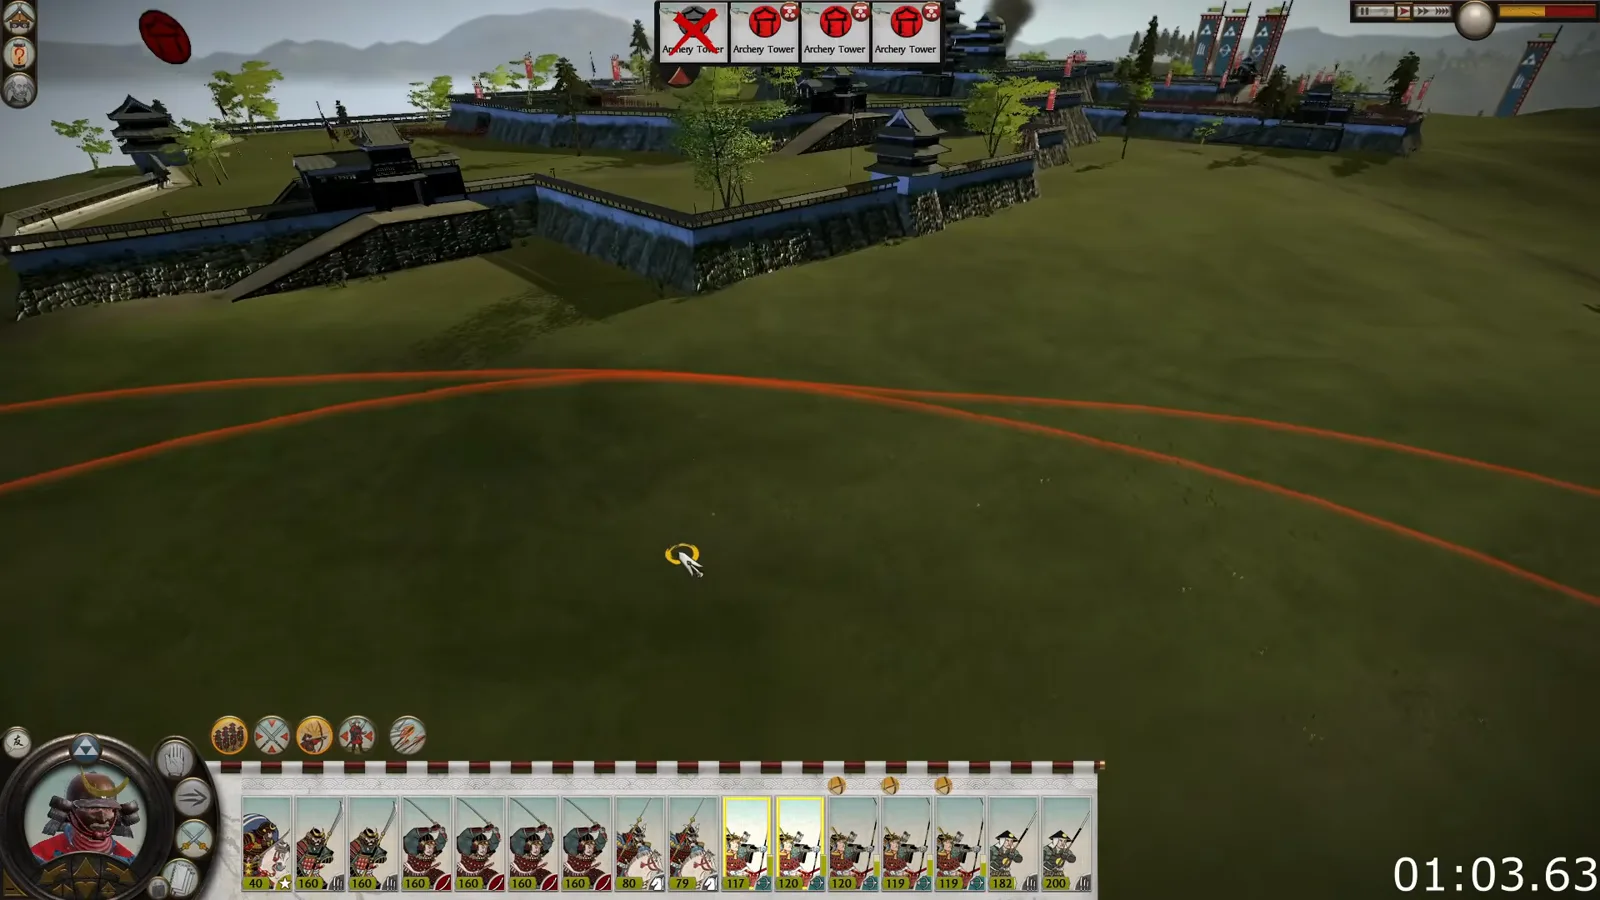
2. Prepare a gate and protect the supporting archers
The video uses fire arrows against towers when the ability is available, then shoots defenders before the main attack. It also sends infantry to gates away from defending missiles to burn an entrance and protect the bows against a sally. The pictured gate is already burning: keep the entrance force supported rather than sending valuable troops to climb a wall merely because it is closer.
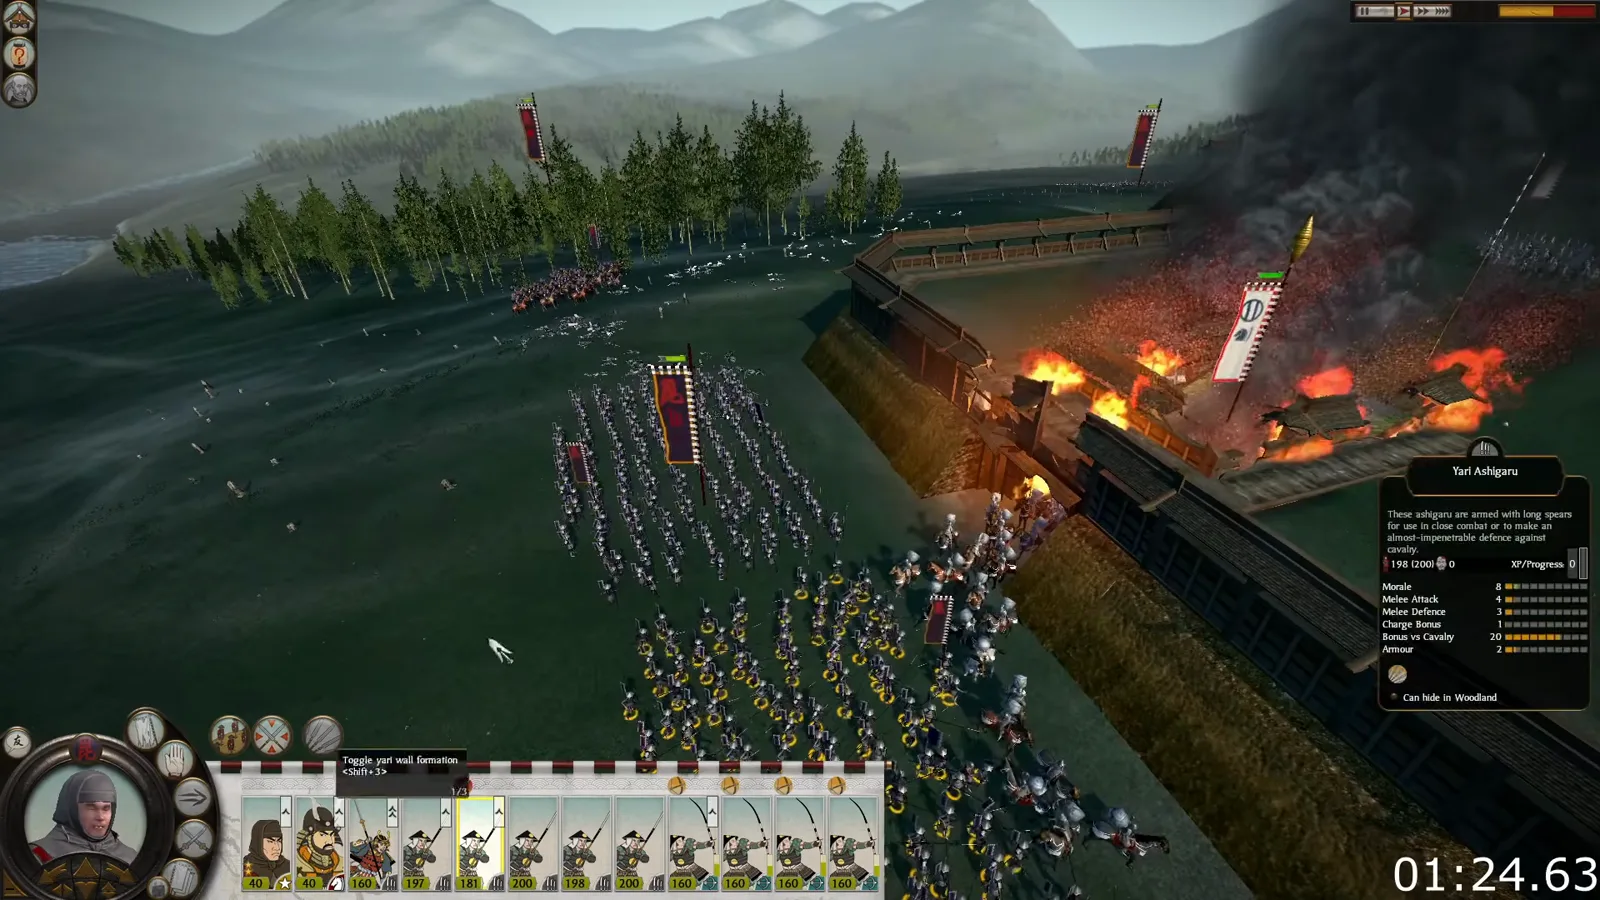
3. Use a single-tier castle to focus on the keep
In the single-tier example, the plan draws defenders toward the gates and sends another group toward the keep from a less defended side. The destination matters more than climbing everywhere at once. Once inside, check whether the route to the objective is still open and whether the groups can support one another. The screenshot shows the courtyard and keep; it does not demonstrate a guaranteed capture timer.
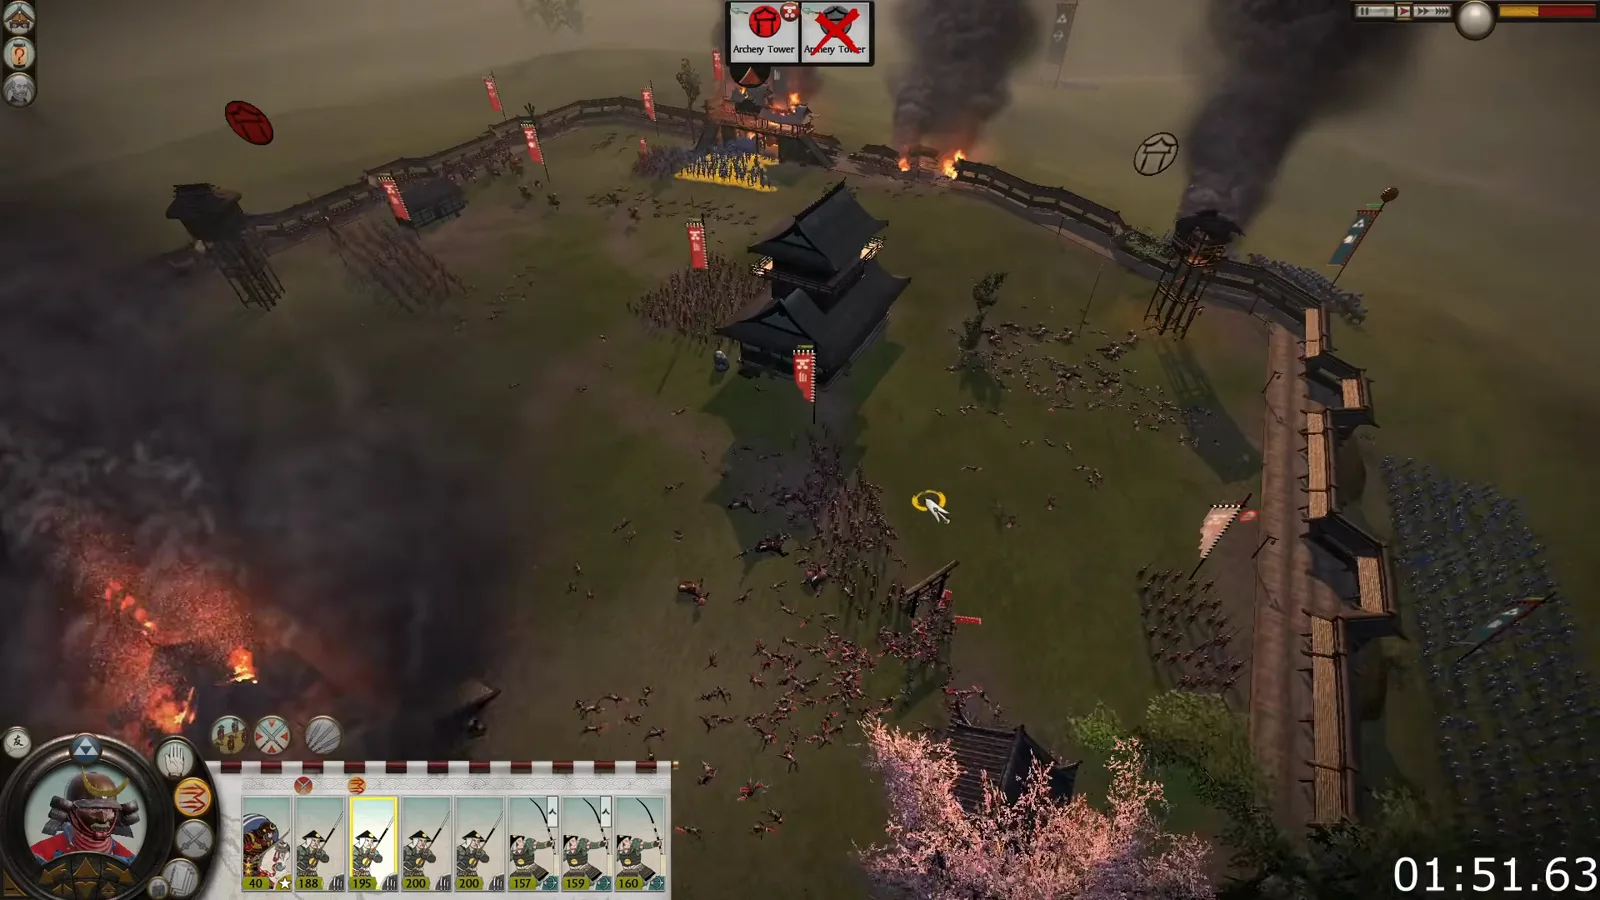
4. On a multi-tier castle, choose which level to fight on
When most defenders occupy the top tier, the video recommends gaining a lower level with local superiority before dealing with the rest. Send the more valuable troops through a gate when possible and use supporting troops on the wall. A lightly defended route to the keep can offer a different choice, but isolated groups are harder to rescue. Read the actual deployment rather than repeating the same rush on every map.
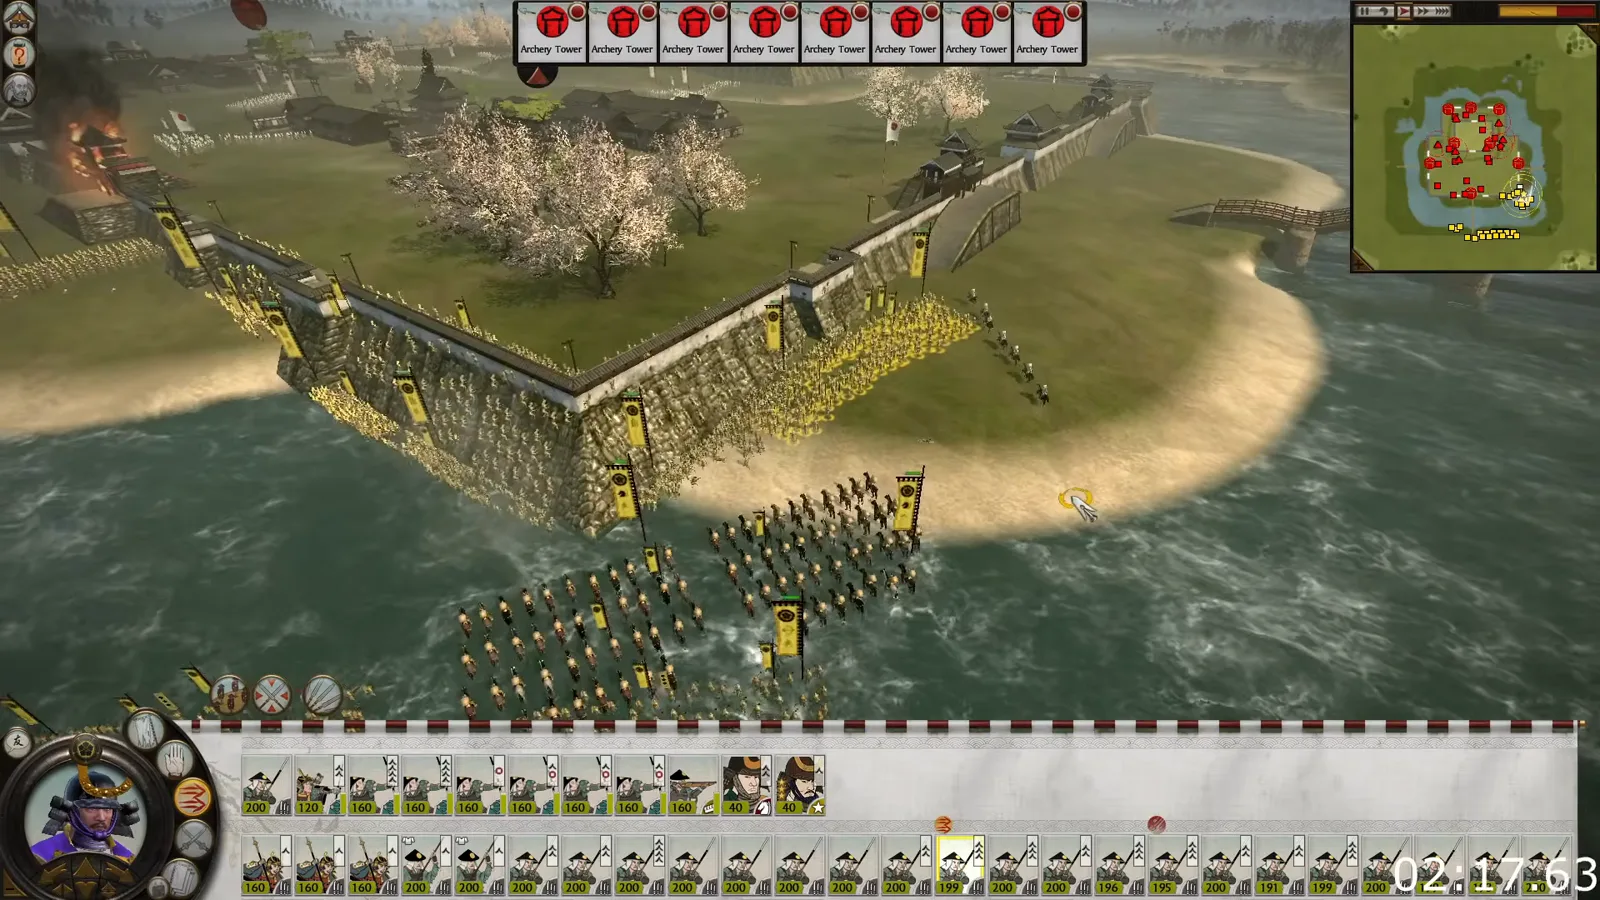

Classic Shogun 2 castle assault decisions
What should you check when the assault stalls?
Do not issue the same wall-climbing order to fresh units without checking why the first wave stopped. Look at the gate, tower fire, the density of defenders and the distance to support. A group inside the castle still needs a useful destination. If the defenders change levels, choose the next fight from their new position.
This guide does not promise a particular casualty total or that the AI always stays in place. The examples are from the classic game, not a test of the newer edition. Check Complete Edition differences before carrying old AI behavior into a different build.
Where should you practice next?
- Compare the attack with siege defense and castle entry points.
- Practice hammer-and-anvil timing in a field battle, where cavalry has room to maneuver.
- Revisit beginner battle preparation if several orders leave your army scattered before contact.
Related Articles
Guides
Shogun 2 Agents Guide: Ninja, Metsuke and Monk Roles
Choose the right Shogun 2 agent for scouting, sabotage, tax income and religion. Learn recruitment routes, counterplay and mission risks in classic Sengoku.
Guides
Shogun 2 Hammer and Anvil: Cavalry Flanking Walkthrough
Practice classic Shogun 2 hammer and anvil with three verified video steps: dismount Katana Cavalry, pin spear infantry and strike an exposed flank.
Guides
Shogun 2 Siege Defense: Castle Positions and Reserves
Defend castles in classic Shogun 2 with illustrated positions for archers, melee troops, cavalry and reserves. Learn when to sally out and check tower control.
Was this helpful?
Thanks for the feedback!