
Shogun 2 Siege Defense: Castle Positions and Reserves
Defend castles in classic Shogun 2 with illustrated positions for archers, melee troops, cavalry and reserves. Learn when to sally out and check tower control.
FAQ
Should all my infantry stand on the castle walls?
Can cavalry help when defending a castle?
Why can a castle tower become dangerous to the defenders?
Does this guide cover Complete Edition balance?
How should you deploy for a defensive siege?
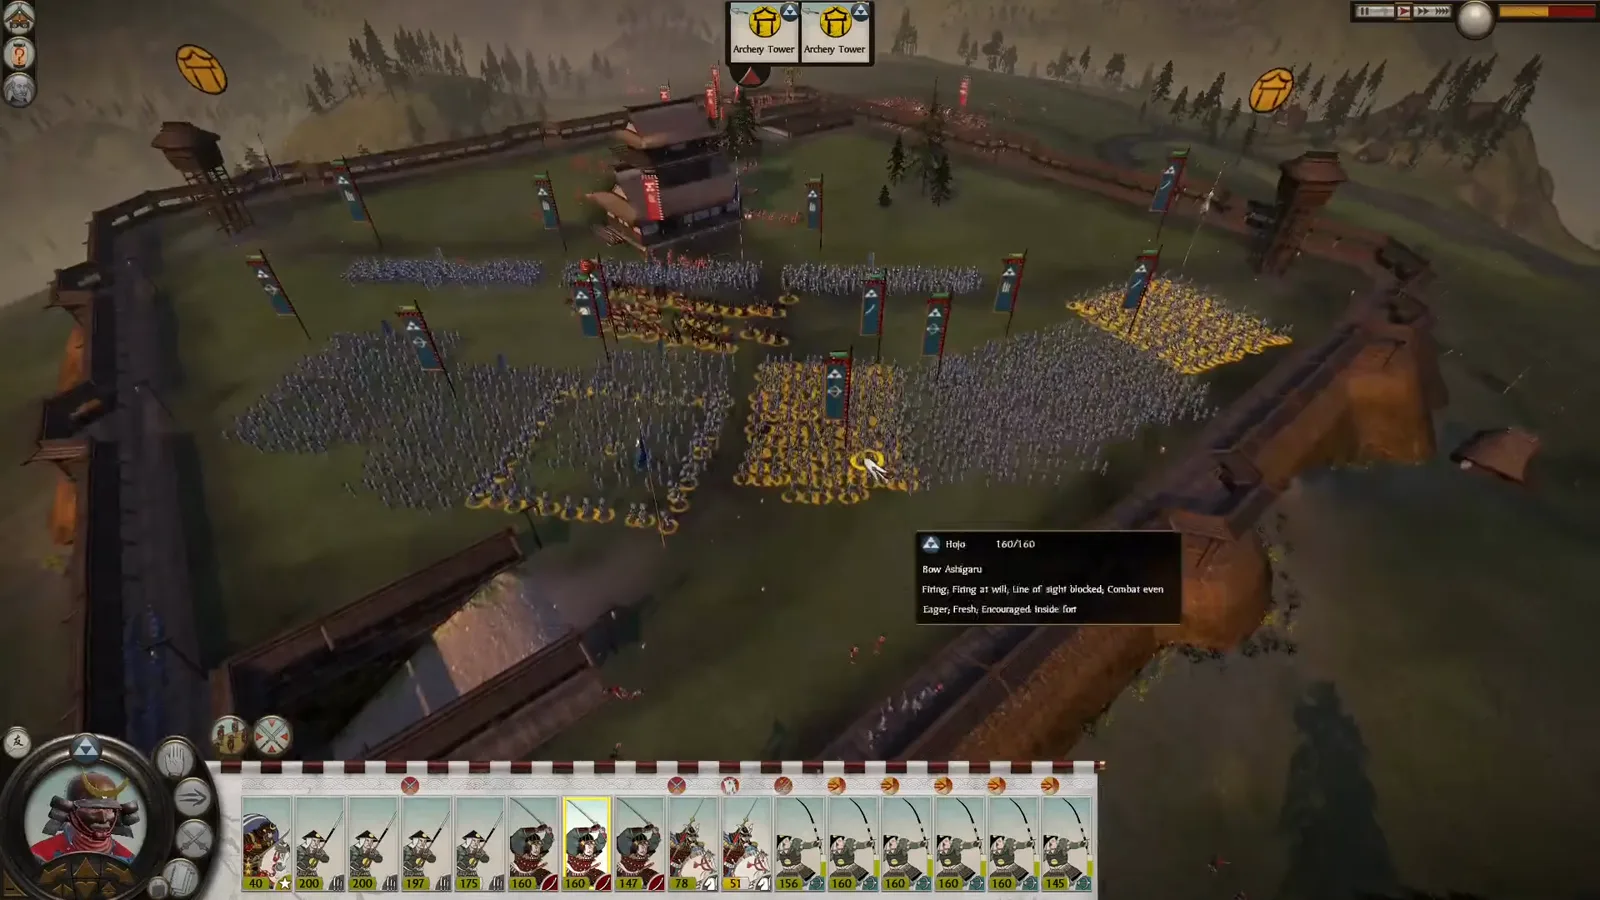
Scope: classic Sengoku. A castle gives you several positions to use, not a reason to put every unit on the parapet. Before starting the battle, identify the likely climbing walls, the gate, the towers and enough open ground for a reserve to move. Decide which troops will shoot, which will receive the first attackers, and which will stay free to react.
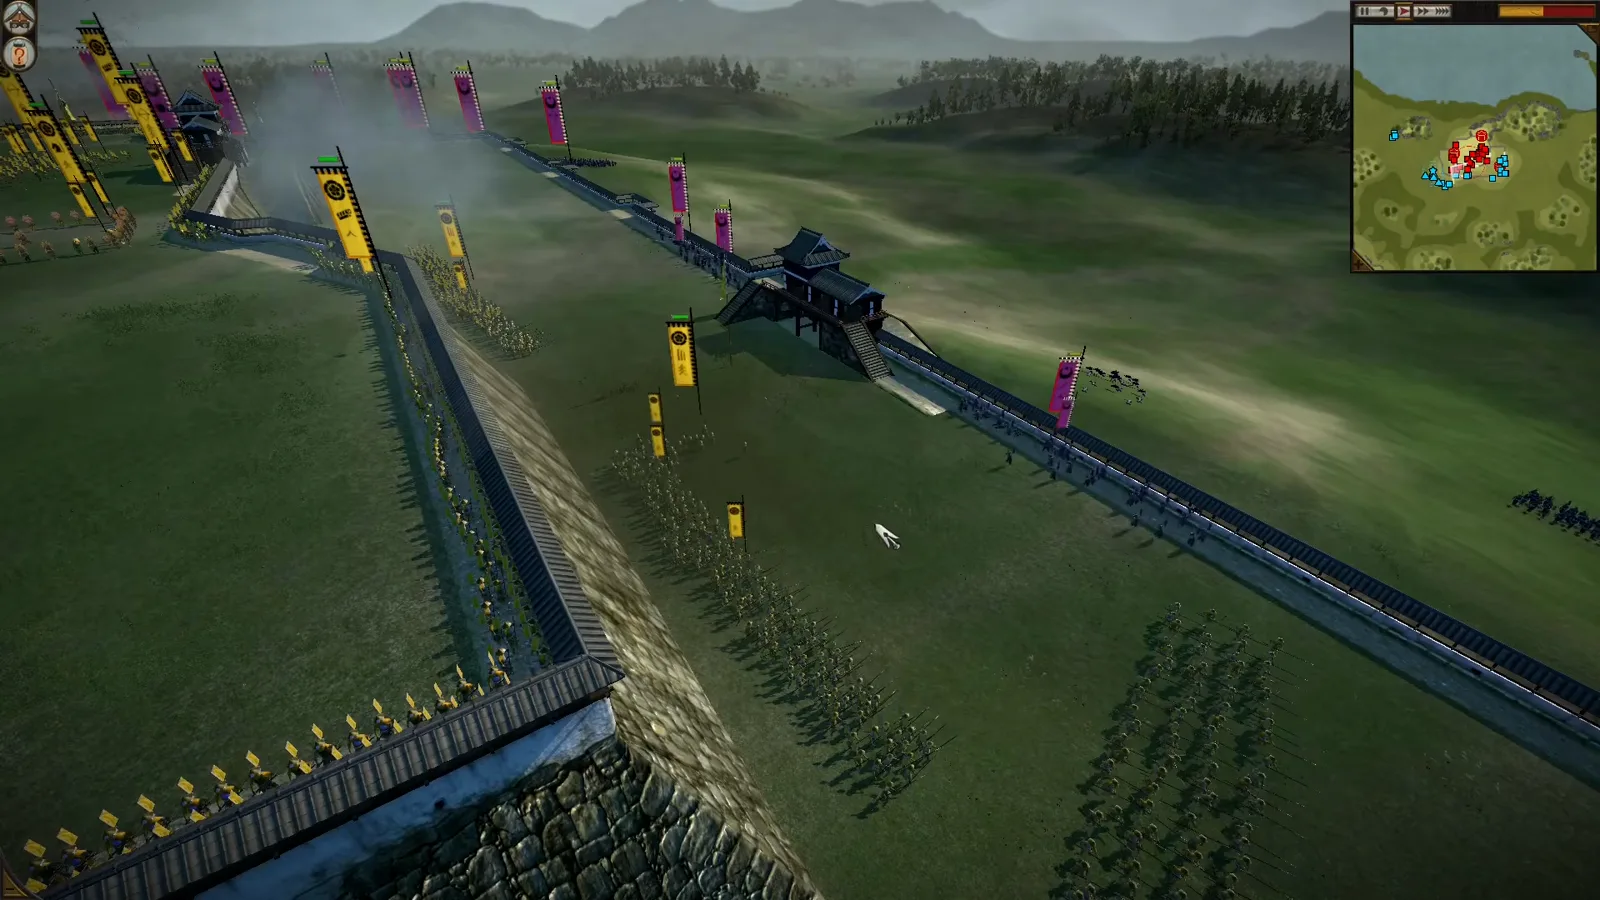
Read the height changes and the route through the gate before committing the defenders. Source frame: 1:50.
The screenshots and demonstrations are from The Viking General — 8 Tips For Defending Your Castles. The steps below reorganize its examples into a deployment plan; each image links back to its exact video time. The screenshots show different battles and castle layouts, not one continuous replay.
1. Choose whether a sortie has a useful target
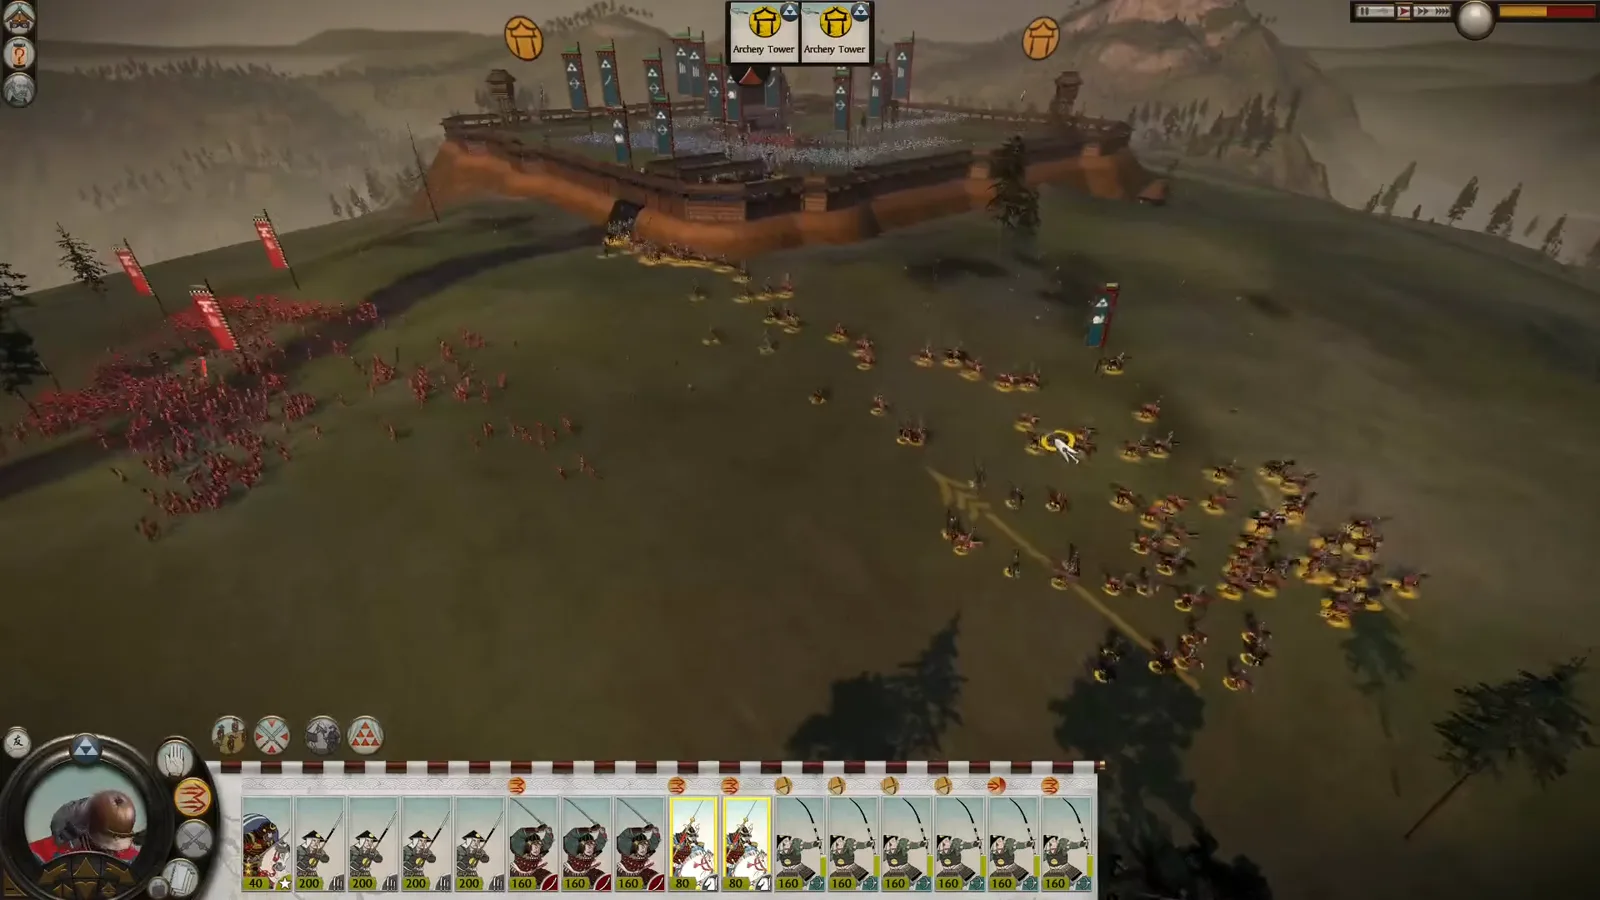
Look outside the walls before accepting an archery duel. The video uses cavalry outside the castle to threaten vulnerable troops and distract the assault. Choose an exposed target and keep a route back; the AI can turn units toward the sortie. If enemy spears protect the bows, reconsider the approach rather than charging through the screen. A sortie is an option for this battle, not an obligation for every garrison.
2. Keep archers useful and meet climbers inside
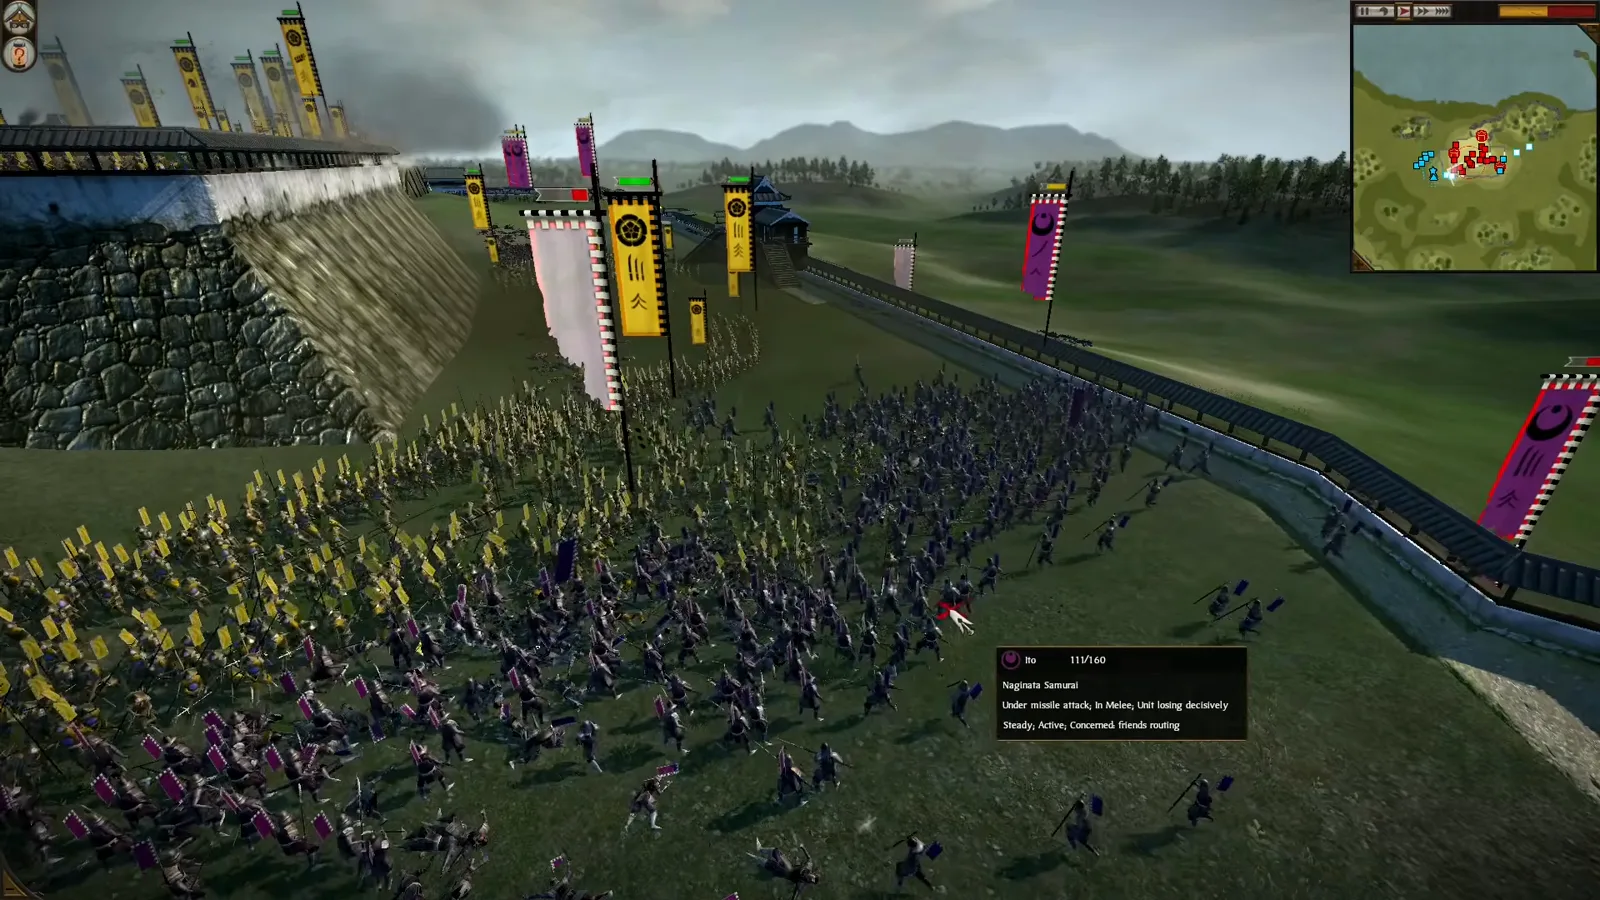
Use wall positions for archers while they can shoot safely, and place melee support below or behind them. The source shows defenders fighting attackers within the castle instead of stretching every melee unit along the wall. When enemies climb, meet them with a formed unit before they can organize. If you use Yari Ashigaru, leave room to form on the ground; do not assume a wall-top deployment gives you the same prepared spear frontage.
3. Monitor tower control as the line moves
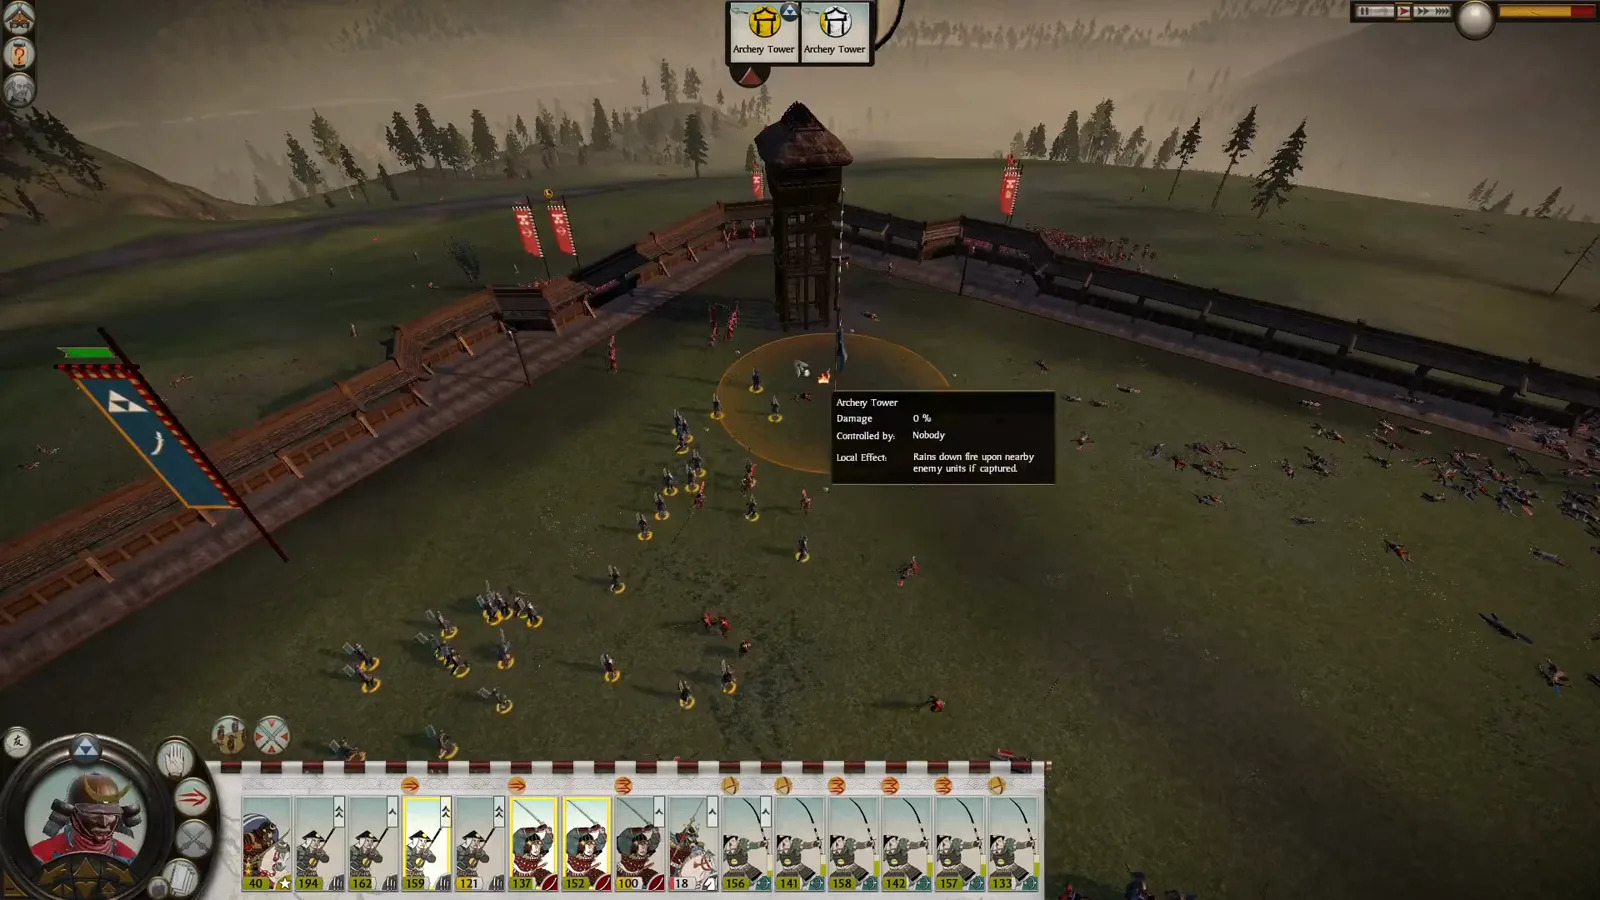
An archery tower is helpful only while its ownership helps you. Inspect its control indicator as attackers enter the capture area. The selected tower in this frame is unclaimed: its tooltip reads Controlled by: Nobody. That is a reason to check the position, not proof that your garrison still controls it. If an enemy captures a tower, the source recommends an immediate recapture when feasible or destroying it before it keeps shooting into your defenders.
4. Keep a reserve for the gate and a flank
Avoid committing every unit to the first contact. The video recommends a reserve near the gate to intercept routing attackers, and uses available courtyard space for attacks into a side or rear. Let the main defenders hold a target while the reserve approaches a useful angle. Watch paths in the crowded interior: a unit that cannot reach the flank is not providing the intended support.
Shogun 2 Siege Defense: Castle Positions and Reserves
What should you check when the defense starts failing?
If archers take heavy losses, check enemy missile positions and whether a building or another castle tier can interrupt the shot. The source warns against a prolonged bow duel unless you can remove the opposing bows quickly. If climbers overwhelm a defender, look at local numbers and available support rather than relying on the wall itself. When troops rout, check tower control and the gate again before ordering a pursuit.
Build the rest of your battle plan
Use the Yari Wall setup guide for a prepared spear line and army composition to assign supporting units. The hammer-and-anvil guide explains the flank attack in an open-field setting. Read siege attack tactics to understand the problems facing the army outside your castle.
Related Articles
Guides
Shogun 2 Agents Guide: Ninja, Metsuke and Monk Roles
Choose the right Shogun 2 agent for scouting, sabotage, tax income and religion. Learn recruitment routes, counterplay and mission risks in classic Sengoku.
Guides
Shogun 2 Hammer and Anvil: Cavalry Flanking Walkthrough
Practice classic Shogun 2 hammer and anvil with three verified video steps: dismount Katana Cavalry, pin spear infantry and strike an exposed flank.
Guides
Shogun 2 Siege Attack Guide: Gates, Walls and the Keep
Attack castles in classic Shogun 2 with a route-based siege plan. Follow illustrated gate, wall and courtyard examples, with source-video timestamps.
Was this helpful?
Thanks for the feedback!